This example shows you how to run biicode’s Arduino Serial Monitor Interface and turn ON/OFF one LED easily.
If you don’t know how to start using Arduino with biicode, check out our getting started guide for Arduino.
Put the following file in your ~/project_name/blocks/your_user_name/block_name/ or just open the example block.
monitor_led.cpp
#include "Arduino.h"

// Pin 13 has an LED connected on most Arduino boards
int led = 13;

void setup() {
	pinMode(led, OUTPUT); // initialize the digital pin as an output
	Serial.begin(9600);
	Serial.print("Send '1' or '0' to turn ON/OFF the led in Pin ");
	Serial.println(led, DEC);
}

void loop() {
	//checking data has been sent
	if (Serial.available() > 0) {
		char msg = Serial.read(); //read a message
		if(msg == '1'){
			digitalWrite(led, HIGH); // turn the LED on
			Serial.println("LED -> ON");
		}
		else if(msg == '0'){
			digitalWrite(led, LOW); // turn the LED off
			Serial.println("LED -> OFF");
		}
	}
}
Download: monitor_led.cpp
First, configure your arduino settings and toolchain:
$ bii arduino:settings
...
$ bii configure -toolchain=arduino
...
Sencond, build your project:
$ bii build
Now upload this firmware to your Arduino with the following command:
$ bii arduino:upload

...

[100%] Built target [your_user_name]_monitor_led_main-upload
You shouldn’t get any erros but if you do, please check that your Arduino is correctly connected, and check your settings (using the bii arduino:settings command).
If you still have any issues please contact us at our forum.
Now, open the Arduino monitor. You only need to execute the following command:
$ bii arduino:monitor

...

Arduino detected on port [YOUR_PORT]
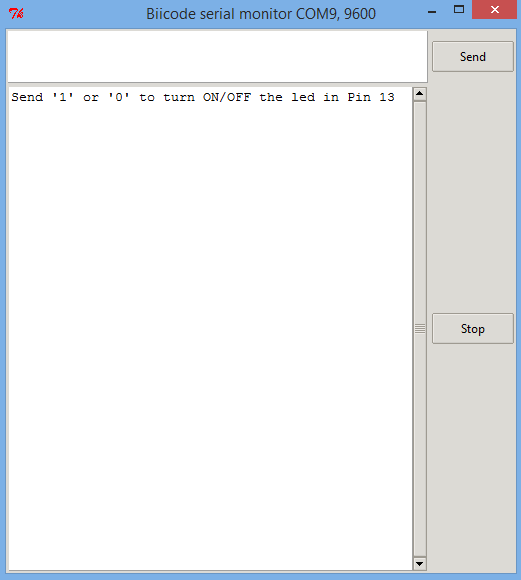
You’ll see a window with an interface that allows you to communicate with the Arduino Serial Port. Here you can send 1 or 0 to turn the led ON or OFF, respectively.